DIY Framing for Pin Maps
Step-by-step how-to instructions and product suggestions for how to frame your pin map prints. *Contains affiliate links
SUPPLIES (for 16x20 inch print)
- Thin acid-free foam board from Walmart or Michael's (5 Pack of Elmer's� Acid Free Foam Board, 2 Count By Elmers in White | Michaels�)
-
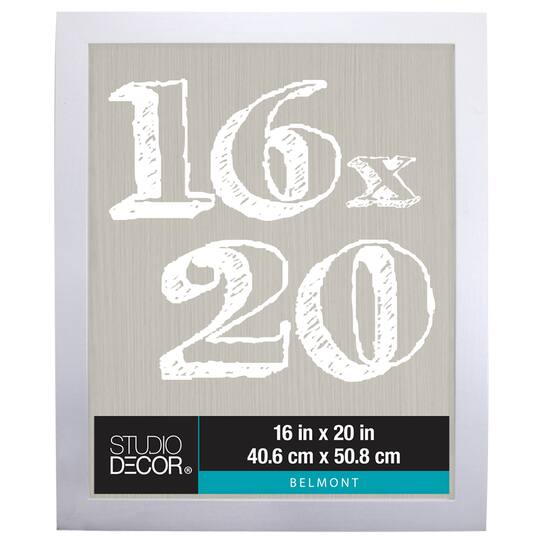
Frame that has flexible metal tabs securing the backing -- 16x20 inches. A low-cost option I recommend is the Belmont from Michael’s. (It’s usually on sale, or google "michaels coupon"):
White Belmont Frame By Studio Decor� | Michaels�
DIY STEPS
- Bend up metal tabs on the back of the frame but don’t remove them.
- Remove backing and carefully discard glass.
- Trim foam board to 16x20 inches (you can use the frame's backing as a template to trace onto the foam board).
- Place print on foam board, keeping skin-to-print contact to a minimum. Gluing is not necessary for this method.
- Insert print with foam board into frame.
- Replace frame’s original backing.
- Bend down metal tabs to re-secure for a nice, snug fit.
NO-FRAME OPTION
You can use spray adhesive to mount the print onto foam core if you want to display it without a frame. I've never done it myself, but there are tutorials online if you search "how to mount a print."
THE FRAME I USE: